Designing and Preparing for Manufacturing
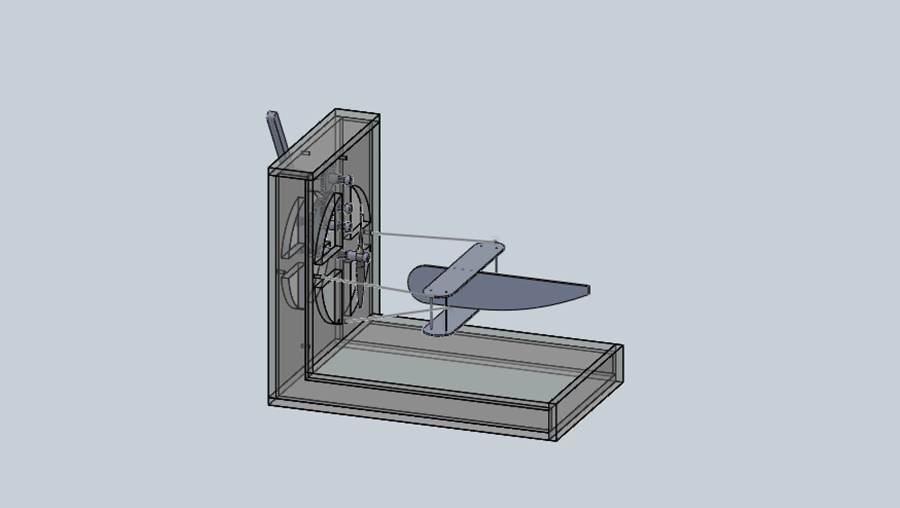
The parts for this toy were designed in SolidWorks. The program's fairly accurate measurements allowed us to preview what the product will look like after manufacturing.

We used two processes for rapid prototyping the toy: for the base, we exported that part to an AutoCAD-compatible file format for laser cutting; for the propeller, we exported the appropriate part to a file format compatible with the 3D-printing machine (.stl).

For the base, we purchased polycarbonate thermoplastic (acrylic, Lexan), which is a good material for laser cutting. For the gears, we decided to use gears from Lego toys – they have a good level of tolerance, enough to rely on.

Manufacturing:
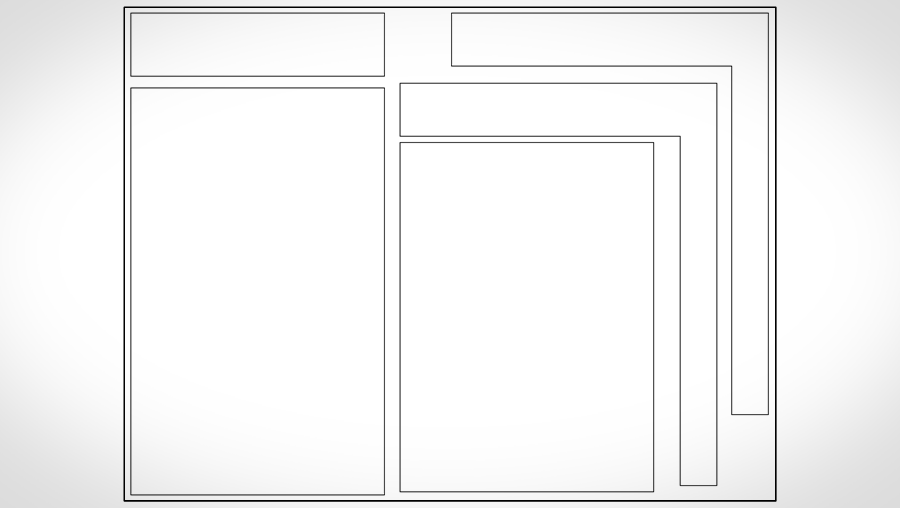
For the base, we plotted the AutoCAD file using a laser cutting machine. It was a relatively smooth process, and no problems occurred because we knew in advance to use thin material. Because the laser was of very thin thickness, we were able to precisely cut out holes for the Lego pieces to fit.
The whole process is relatively simple; it is very similar to simple printing. As long as some constraints are met, like the size of the acrylic and the dimensions of the pieces to be cut, laser cutting should be a process a novice could undertake.
The designer must also remember to use the right lines when drawing the model – For the laser cutter to cut all the way through the material, the designer must make the lines red and with zero-thickness. Otherwise, the plotter will think the designer wishes to create an engraving.
On a semi-unrelated note, mind should be kept to make sure the vent is open – melted acrylic releases mildly strong and unpleasant fumes.
We used the FDM machine (Fused Deposition Modeling) to 3D print our propeller. After we imported our STL file onto the appropriate computer, we set the orientation of the printing before starting. The machine begins by cleaning its parts before commencing. Note should be taken that the machine reaches fairly high temperatures; the user should be safe so long as caution is taken.
Our first propeller design was too thin and small for the 3D printer to accurately create, because of its resolution limitations. It was physically intact, but it was too weak to be of any use.
Our second iteration added two more blades to the propeller (to a total of four), and was designed to be bigger. There were some delays in creating the improved design due to faulty equipment.
Assembling:
The base was permanently assembled with superglue. The results came out better than expected, as minimal residue was left behind. The Lego gears also fit comfortably yet firmly in the holes laser-cut for the pieces. The hole for the propeller made to fit the shaft also came out to satisfaction.

Additional Pictures:
